How to Care for Your Guitar: Part 2
Published on 17 January 2023
Welcome back to another round of guitar maintenance! Everything in this blog is simple, sound advice to help your guitar life be as fun and drama-free as possible. Now, if you are new to the subject of either guitar maintenance or indeed guitars themselves, please click through to our first guitar maintenance blog and jump back across here when you’re done.
Okay! Now that we’re all caught up, today’s article will look into simple ways you can protect your guitar throughout the seasons, as well as paying attention to those obvious-yet-never asked subjects such as: how should I store my guitar?, what do I need in a basic toolkit?, which is the best Black Sabbath album? and much more.
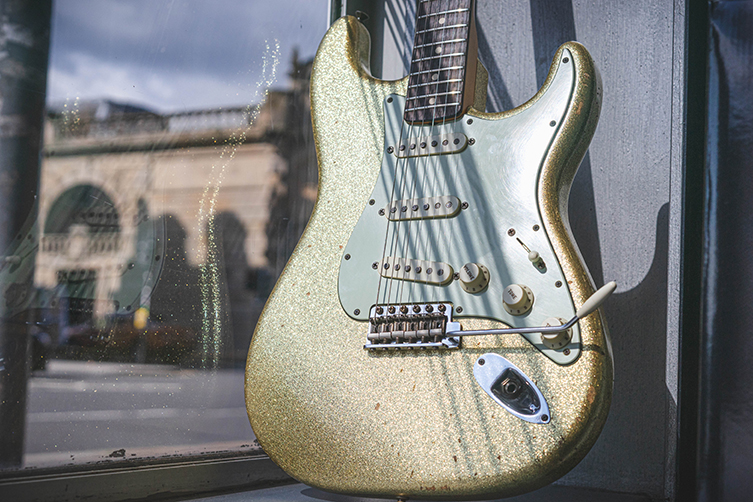
One important factor, of course, is temperature. Weather, heating and other such things affect our instruments greatly, so we’re going to divide the next few sections into the four seasons, and discuss ways to adequately look after your gear throughout the year. Then, we’ll cover some more points in a more collected way towards the end. Are you ready for some hard facts mixed with a little homespun wisdom? Gooood. Let’s get to it!
Winter Guitar Care
We’ll begin with winter, since it’s the most obviously problematic season for our precious guitars. Winter itself is cold and wet, and that brings with it increased usage of central heating. All of these things are like holding up a crucifix to a vampire in terms of guitar health, so let’s talk about working around them. We may reiterate some of these points during later seasons, but it’s all good sensible stuff so do take it onboard!
First off, get your guitars away from all windows. Yes, it’s a nice flex to show off your lovely Martin 000 to all and sundry as they pass by, but your guitar is suffering significantly as a result. You really want a good metre at least (more is better) between your instruments and any windows. Open or closed, windows let a lot of temperature through them, and over time, this can lead to warped necks, shrunken fingerboards and other horrors.
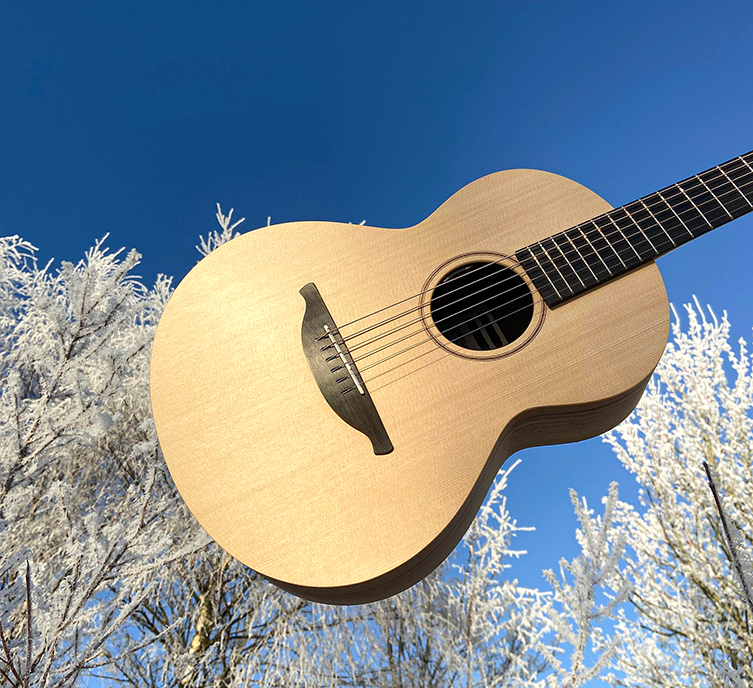
This same thing applies to radiators and any other sources of produced heat. Keeping your guitars near heaters is doing them no favours at all, and can lead to similar problems. Basically, wood expands and contracts in relation to temperature. Given that guitars are made from wood, metal and paint, these ingredients will push, pull and ultimately become damaged when left to the elements, as it were. Keeping your guitars somewhere neutral in terms of heat/cold sources is an easy way to protect them.
Now, before we move on from this subject, let’s talk about moving guitars from one environment to the next. Gigging players, this applies mainly to yourselves but all guitarists will do well to keep this in mind. Temperature extremes do not have to be as dramatic as, say, coming into a warm venue from a frozen, snowy street in order to be problematic. No, as one of our own staff members found out to their dismay, simply bringing a guitar (cased, we might add) from a cold room into a warmer one in the same building can result in some very unexpected reactions. Witness photographic proof of the finish cracks and checks that occurred to this Gibson Les Paul Studio Goldtop in just such a situation!
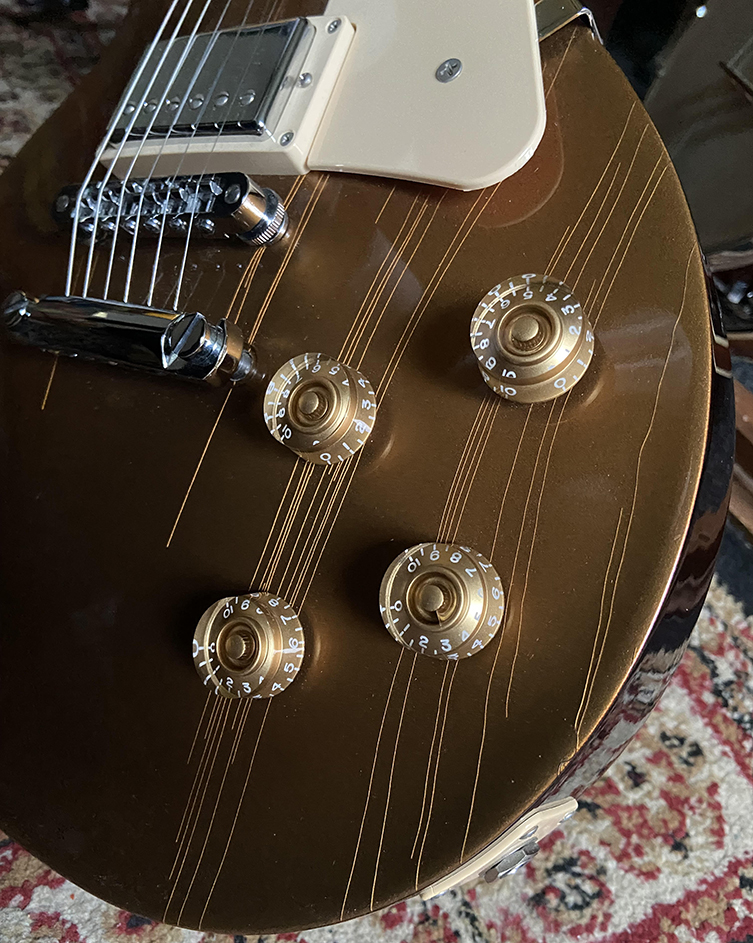
Fans of Tom Murphy’s expert relicing should not feel tempted to willfully subject their pride and joy to extreme temperature changes just to get some checking action happening! Leave it to the pros! The damage can be more than skin-deep, as warping and shrinking can occur too, remember.
So, what’s the remedy here? Particularly given the knowledge that the above guitar was in a case, how do we prevent this from happening to our own guitars? Well, if we can keep them in rooms that have an even temperature - and not too cold, so no storage rooms or cupboards, particularly ones that attach to your home’s outer walls - then it’s as much a matter of keeping them cased for a good half hour after changing their location. Instant uncasing as often what prompts the terrible damage, so hang back for a while when you bring cased-up guitars into a new location, even if it’s an adjacent room during winter months.
Nitrocellulose finishes are famously thin and reactive, so this advice won’t apply quite as much to polyurethane-finished guitars (if you are unsure what finish you have, it’s worth checking but it’s likely that your guitar is poly) since that is a far harder finish, but remember that the cold (or heat) can move the neck, the frets and everything else.
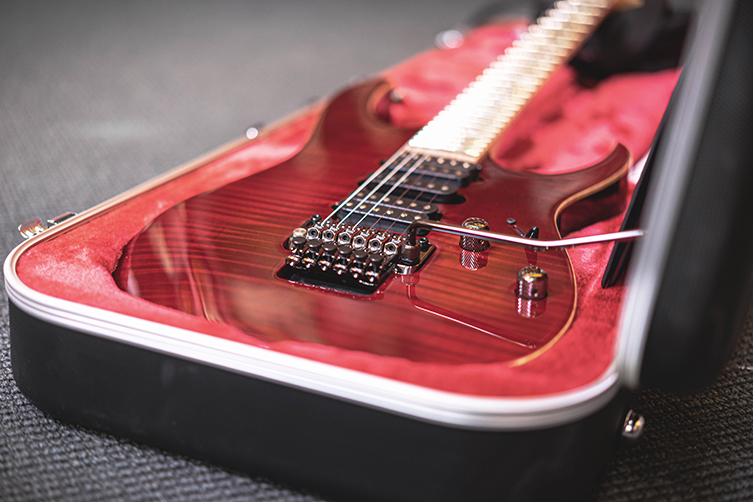
Basically, pull no sudden moves, and give your guitars plenty of time to acclimate to their new surroundings. The last thing you want is to pop the catches on your guitar case and hear that strange ‘crack’ noise that indicates temperature damage to your finish.
We’d say to store your guitars in room-temperature surroundings, on stands, and out of the way of everyday house traffic like people, pets and children. It’s our opinion that guitars inside cases are easy to walk past and ignore, and the whole point of owning these objects is to enjoy them! Having them available where you can see them (and open in the atmosphere to allow them to settle, temperature-wise) is the best way forward in our opinion. Away from windows and radiators, away from toddlers and cat claws. Wall hangers? Sure, as long as you aren’t whacking them up next to the living room bay window or above the radiator, you’re good!
Spring Guitar Care
As winter thaws and a new year blossoms, similar advice applies to guitar maintenance as with winter. Even temperatures, avoidance of extreme elements and sensible placement of your instruments will all have you triumphantly winning the spring months.
Some people talk about slightly detuning your strings when you aren’t regularly using a guitar, but we don’t think that’s a particularly necessary move to make. We receive guitars from boutique American makers and they are tuned to pitch, so there’s no inherent risk in leaving your guitars in standard tuning.
Again, temperatures will still be relatively low (particularly if you live in the UK like us) so leaving your guitars to settle in a new room/space before uncasing it is a good move still.

Summer Guitar Care
Summer brings with it (hopefully) heat and lots of nice bright light. Great for us humans, less so for our guitaristic tools. Now, by this point, we are all well versed on the perils of keeping our guitars too close to windows and radiators, right? This still applies, though perhaps the radiators are less lethal during the summer months.
Sunlight, as we’ve sadly noted in the past with our gg display windows, can wreak considerable havoc on guitars. We still carry troubled memories of a Transparent Blue Epiphone Les Paul Standard from many moons ago: it lived for a summer in our window as an eye-catching display, but the sun’s rays and the reflected heat from the shop window turned that bright blue into a grim, drab grey. Taking the pickguard off revealed the contrast since that area had been shielded from harm, in a way that was really quite upsetting.
Most alarming was the wax that had dripped out of the humbucker casings and dribbled down the body! So, take it from us: direct sunlight and light through windows can zap your guitars like some intense nuclear gamma rays. Keeping your guitar away from direct or reflected sunlight is just a matter of finding a space in any given room that’s not directly taking heat from the windows. Found that space? That’s where to put your guitars.
Autumn Guitar Care
Autumn is perhaps the easiest month to get along with, in terms of guitar maintenance. As you’ll no doubt have picked up on, ‘maintenance’ in this context is often more a case of ‘guitar watchfulness’, with common sense picking up wherever there’s uncertainty.
By the time autumn swings around, you’ll be a dab hand at protecting your guitars from direct sunlight, heat and cold. You’ll have them in a location where the dog won’t bang into them, the kids won’t be tempted to grab at them, but also within easy reach of your own hands whenever inspiration strikes.
Guitar Cleaning, Parts and Spares
We covered cleaning your guitar in Part One, so please refer to that if you need a reminder. One thing we didn’t mention was how to look after things like the control knobs, nut and bridge saddles. Thankfully, this is a simple subject!
Scratchy Control Knobs
Control knobs generally only need tending to if you can hear a scratchiness in sound when you use them. This means that the mechanism has some dirt or other gunk in it. Now, listen up, because this is important: DO NOT USE WD40! We get a lot of customers assuming that WD40 will do the trick, since it’s such a fix-all in other areas of DIY. It’s not only no use here, but in fact pretty harmful, so please don’t use it with your guitar, ok? Cool.

Instead, grab a can of Servisol and give the underside of the scratchy pot (potentiometers: we call them ‘pots’ in the industry) a quick scoosh. Turn the knob to work the Servisol in, leave it for 30 seconds and then check to see how things sound when plugged in. For guitars like Strats, you’ll need to unscrew the pickguard to get at the pot, but five minutes with a star-headed screwdriver will see you right.
Nut Lubrication
Dodging any schoolboy humour related to the dubious chapter heading, let’s talk briefly about the guitar’s nut. It’s a simple piece of the tone puzzle, but an incredibly important one: the nut is more responsible for tuning discrepancies than almost any other part of the instrument. Keeping the nut in good health is all about keeping it lubricated. A lubricated nut means it’ll allow the strings to move back and forth unimpeded, and that is required in order for them to not stick and make you sound like a loser when you play.
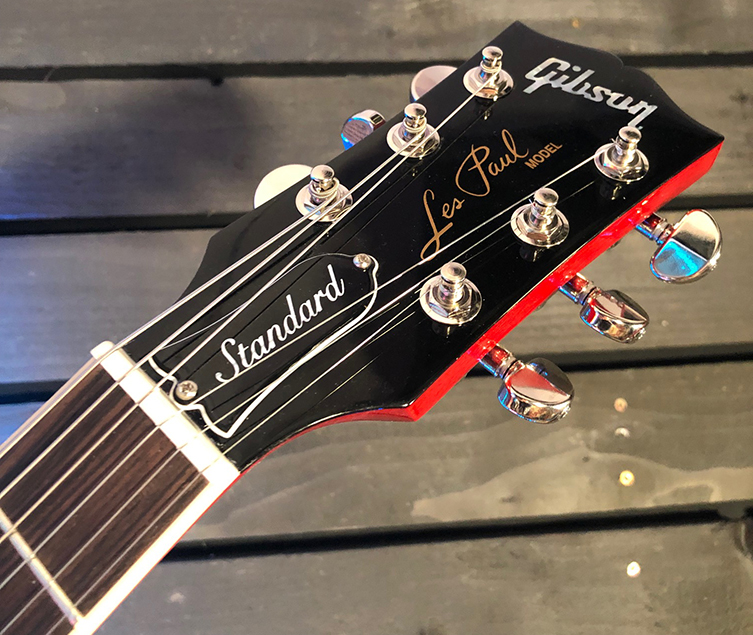
So, how do we lubricate the nut? Assuming that your nut is seated properly and cut properly (jobs that are beyond the scope of this article but not your local guitar tech), you can do a number of simple things to keep the nut lubricated. The most simple is to cover the nut’s string spaces in graphite from any regular pencil. Just ‘draw’ the pencil back and forth in the slots until they are dark grey. Restring as normal. Job done.
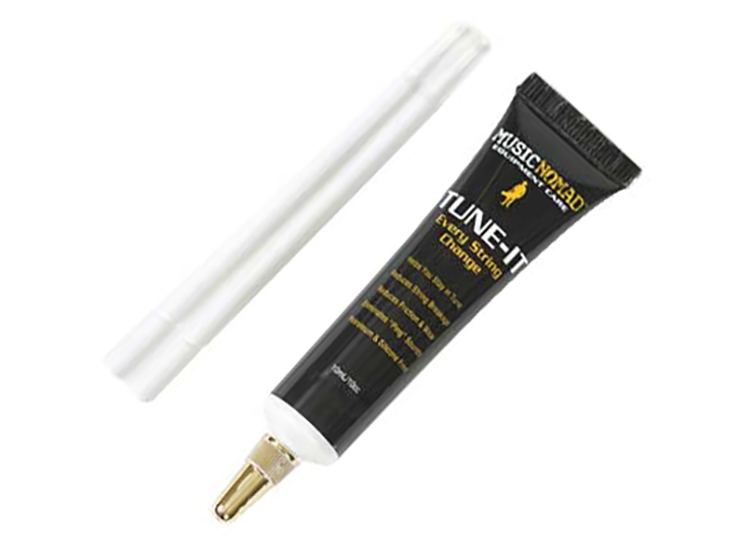
A more pro solution (note, we are not saying it’s any more effective) is to use a purpose built nut lubricator (stop it) such as Music Nomad’s Tune-It. Squirt a tiny amount into each slot before you put on a fresh set of strings and you’re laughing.
Not all nuts require this, though. Graphtech make a nut made from Tusq, which is a synthetic self-lubricating substance that saves you bothering with any of the above. If your guitar has a Tusq nut, pat yourself on the back and move on! If not, and you like the idea of one, know that these can be bought and fitted by your local tech. There are many variables (and guitar-dependant sizes) so talk it through with your tech and let them make the decision.
Bridge Saddles
Do bridge saddles also need lubrication? Well, it’s slightly less talked about, but we’d say yes. Any point at which the guitar string meets any other surface will introduce friction, which can create problems with tuning and intonation. So, we reckon it’s worth lubricating the guitar’s saddles as well, in the same manner as with the nut.
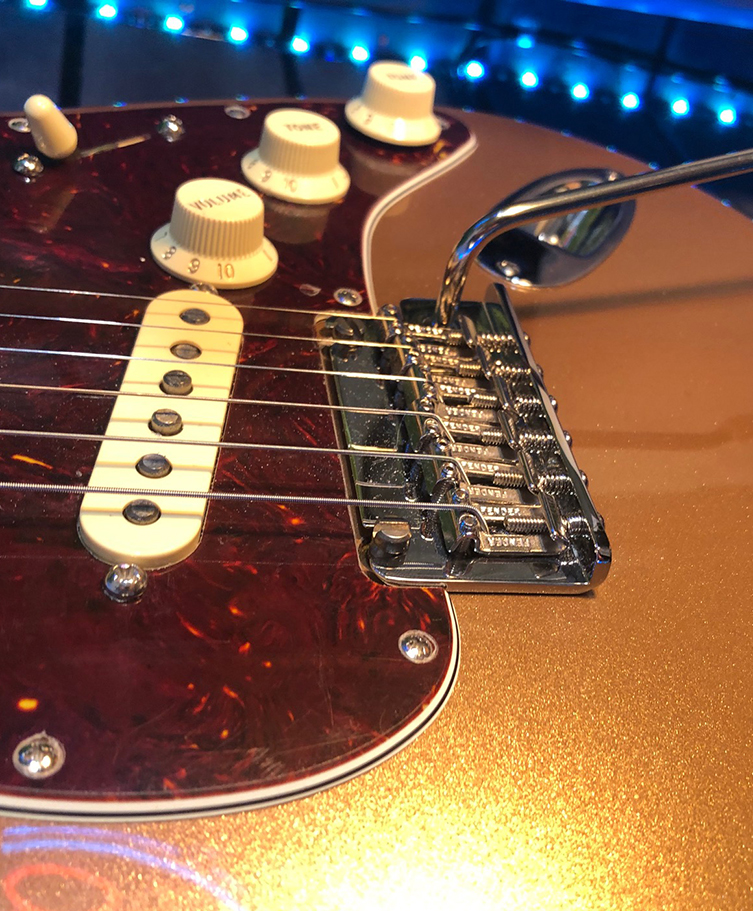
To be frank about it, other metal moving parts such as open geared tuners, tremolo units and so on can all benefit from a small amount of proper nut lubricant. The MusicNomad one we mentioned is good for all of this, and we began stocking their products when we continually saw touring guitar techs using them over the years. Other brands are available so have a dive and see what works for you.
Avoiding Scratches and Dings
Are you the type of person who likes to keep their guitars pristine? Does the idea of a scratch in the paint bother you to distraction? If so, you’ll want to be mindful of a few factors that will definitely interfere with your sleep if you don’t adhere to them.
As touched on earlier, nearly all guitars are finished in one of two materials: polyurethane or nitrocellulose. Each is used for its own reasons but what you need to know just now is that poly finishes are pretty tough hombres and that nitro finishes will scratch up as soon as you look at them.
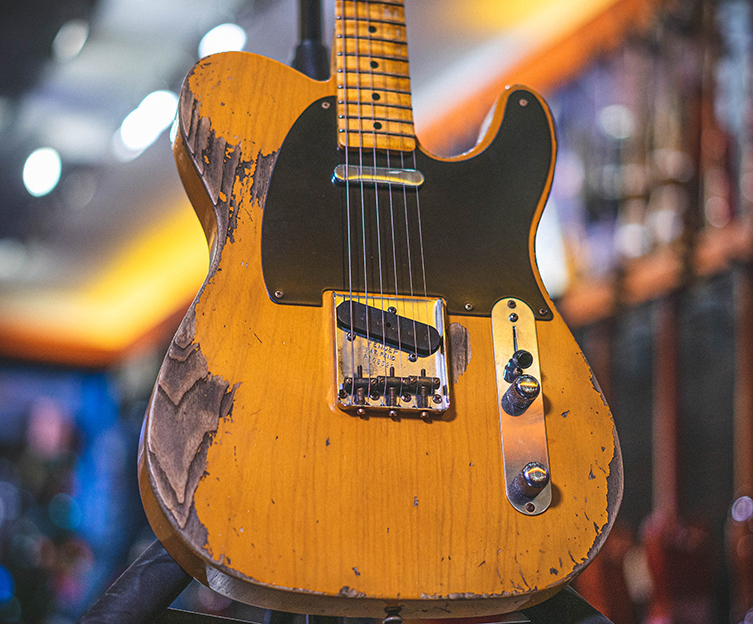
We’re being facetious, but in reality polyurethane finishes are very tough and scratch-resistant, though they aren’t completely impervious. Polyurethane is loved because it ages in a visually appealing way, but it’s definitely more susceptible to glancing blows and accidental drops. You can’t do much about accidents (otherwise they’d not exist, right?) but you can do - or avoid wearing, more to the point - certain things to help protect your instrument’s finish.
Take a good look at the nick of this PRS. This is the real, honest wear and tear meted out by one of our staff members who insists on wearing big ol’ belt buckles, studs and spikes when they play gigs:
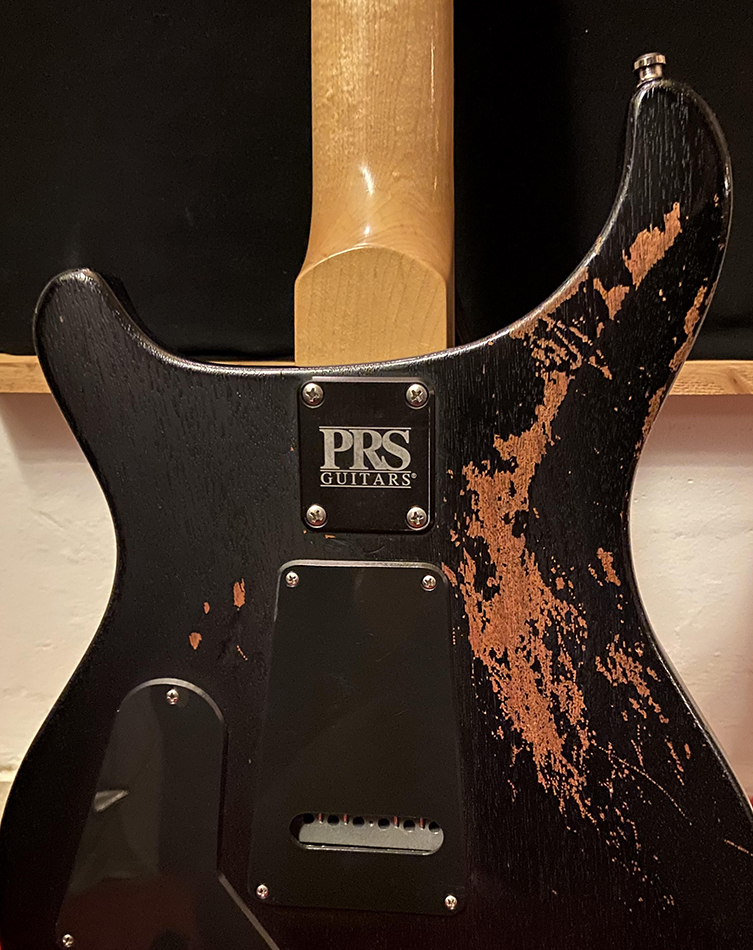
It’s perhaps significant to note that this guitar is less than three years old, okay? When in the throes of maniacal rock 'n' roll, we can all get carried away, but if we dress like Gene Simmons on stage, we can also expect guitar casualties. Avoid the big buckles or wear your guitar appropriately high/low to dodge them.
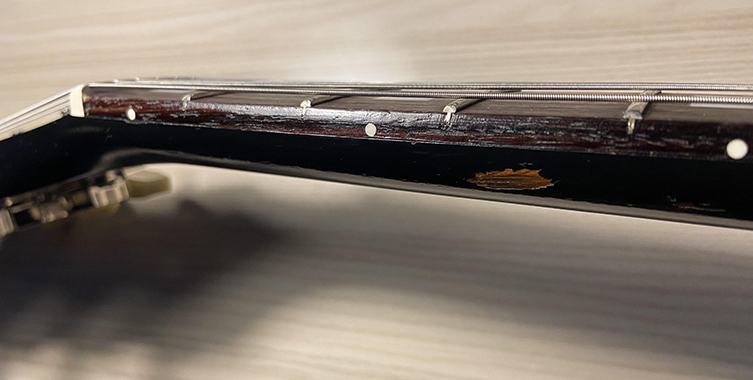
This is true of zips and jewellery, too. You may not think it at the time, but all of those cool big chunky rustic rock star rings you wear on your left hand can take full-on divots out of your guitar’s fingerboard when you thump your hand down to grab some notes. Clang! Battered frets. Terrible scenes. Your rings look awesome but now your guitar sounds like a tragedy and you are right there in the firing line. Give it some thought, and if you have to wear mad big rings, make sure you do so at rehearsals too, so you can learn what to expect in advance.
One last consideration on this subject is that of doorways and roofs. So many of us carry our guitars on our backs now, inside soft cases. Jumping out the tube, or a taxi, and into the venue is a critical time, because so many guitars take head injuries here. Mostly they are not critical, but you can do invisible damage to tuners, nuts and the rest by not being mindful of your extra height when out and about.
Toolkit Suggestions
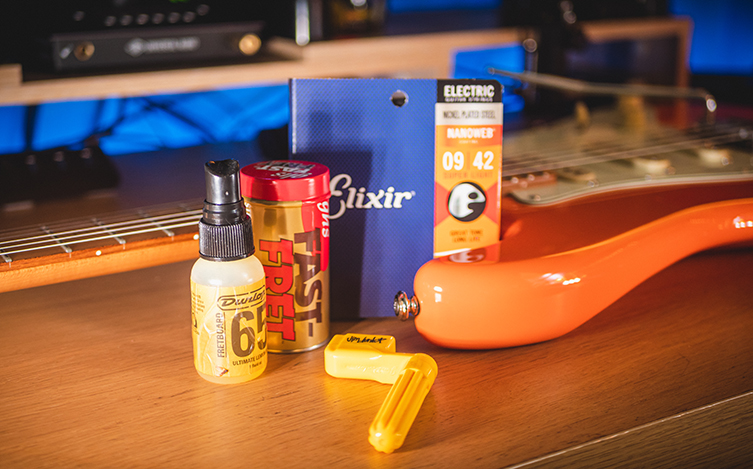
In part one, we outlined a few of the simple items and accessories you’d need in order to clean your guitar. We’ll supplement this list to include some of the things we’ve spoken about today. In your handy toolkit, we recommend keeping the following:
- Screwdrivers (a selection of long-handled ones with star/phillips, slot head, hex and torx, just in case)
- Allen Key sets (Imperial for American-made guitars, Metric for all others. Have both, just in case)
- String Winder
- Lemon Oil
- Ruler
- Nut Lubricant
- Pencil
- Cloth or rag
- Polish and Cloth (keep cloth separate from other cloth)
- Capo
- Guitar tuner
- Razorblades
- Soft Toothbrush
- Servisol Super 10
You’ll need some of this for Part 3, when we look into doing some routine set up stuff. For the moment, it’s handy to have all of this together in one place, away from prying little hands.
Take Your Guitar to a Technician
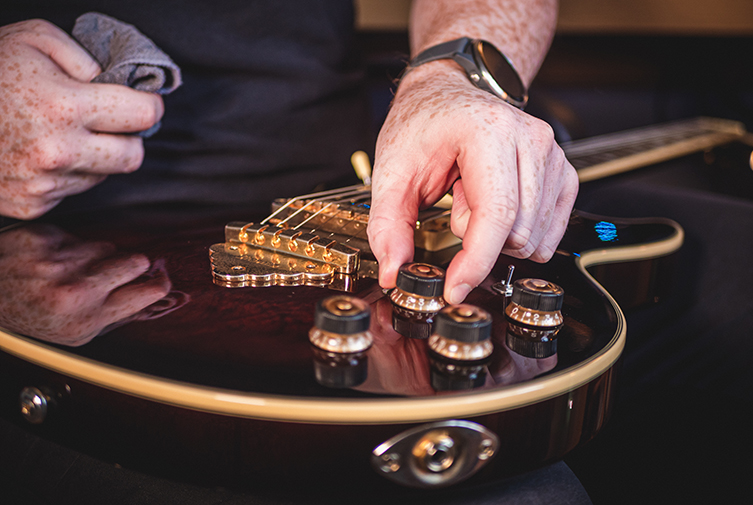
As mentioned, in Part 3, we’ll talk about little tweaks you can carry out at home to improve how your guitar plays, but it’s definitely worth taking your guitars to a qualified tech every so often to have the once-over.
A good set up will sort out issues you may not even know about: neck alignment, loose input jacks or control knobs, high action, off-intonation and so on. Until you’re well-versed in detecting these things and then correcting them, it’s best to let a pro do the work. Truss rod adjustments, for example, involve having a healthy respect for knowing how much of a difference a quarter turn really does, so don’t go footering about!
What We'll Cover in Part 3
That’s all for now, folks. We hope we’ve settled some issues and questions for you. Next time, we’ll take a slightly deeper dive into the technical side of keeping your guitar playing at its best, now that we know how to clean and look after it. Stay tuned, and if there are things you want to know, need help with or could do with us explaining, get in touch and let us know!
Until next time!


